

Dear readers,
No one believes me when I tell them that one can make crispy bacon in a microwave. Most people think that it won't become crisp. I didn't believe it either when I first heard of the idea. Now that I've seen it with my own eyes, I never cook my bacon any other way. I have the same feeling about the genius idea of cling film poached eggs.
 Poached eggs are my favourite type of egg, as I have mentioned previously in my San Francisco Brunch post. However, I am usually put off of making them because the art of poaching an egg is so difficult to conquer, especially when the eggs aren't fresh. This all changed when someone shared the cling film method with me. It was given to me by one of my housemates, and I believe that she first heard of it from one of Jamie Oliver's shows. It is practically fool-proof (I say practically because one of my housemates managed to fail due to his impatience!) and provides an evenly-cooked white with a runny yolk, and no mess or egg soup!
 Microwaved crispy bacon:
Place the strips of bacon onto 2 pieces of kitchen roll (to soak up the excess fat) on a plate and place in the microwave. Cook on high for 2 minutes. Turn the bacon strips over and cook for a further minute. For crispier bacon strips, cook further in intervals of 30 seconds.
Note: The bacon strips usually turn out a little dryer than if they were grilled or fried, however, I believe this to be healthier since more fat has been removed during the cooking process.
Cling film poached eggs:
Place a large square of cling film over and onto a shallow cup or mug and push down the centre of the cling film to make space for the egg. Crack an egg into the cling film and then bring the edges together and twist to seal the egg into a package. Poach as normal, i.e. in a pan of boiling water, covering the egg entirely, for four minutes. Carefully remove the cling film and serve.
Note: This cooking time is for a large egg at room temperature (~20°C). If the egg has been stored in the fridge, cook for five minutes. The result is an evenly cooked white with a runny yolk. I don't usually grease the cling film first, but lining with butter or oil can make the removal of the poached egg from the cling film a little easier.
 I ate my microwaved bacon and poached egg with a zucchini pancake and some garlic-fried mushrooms.
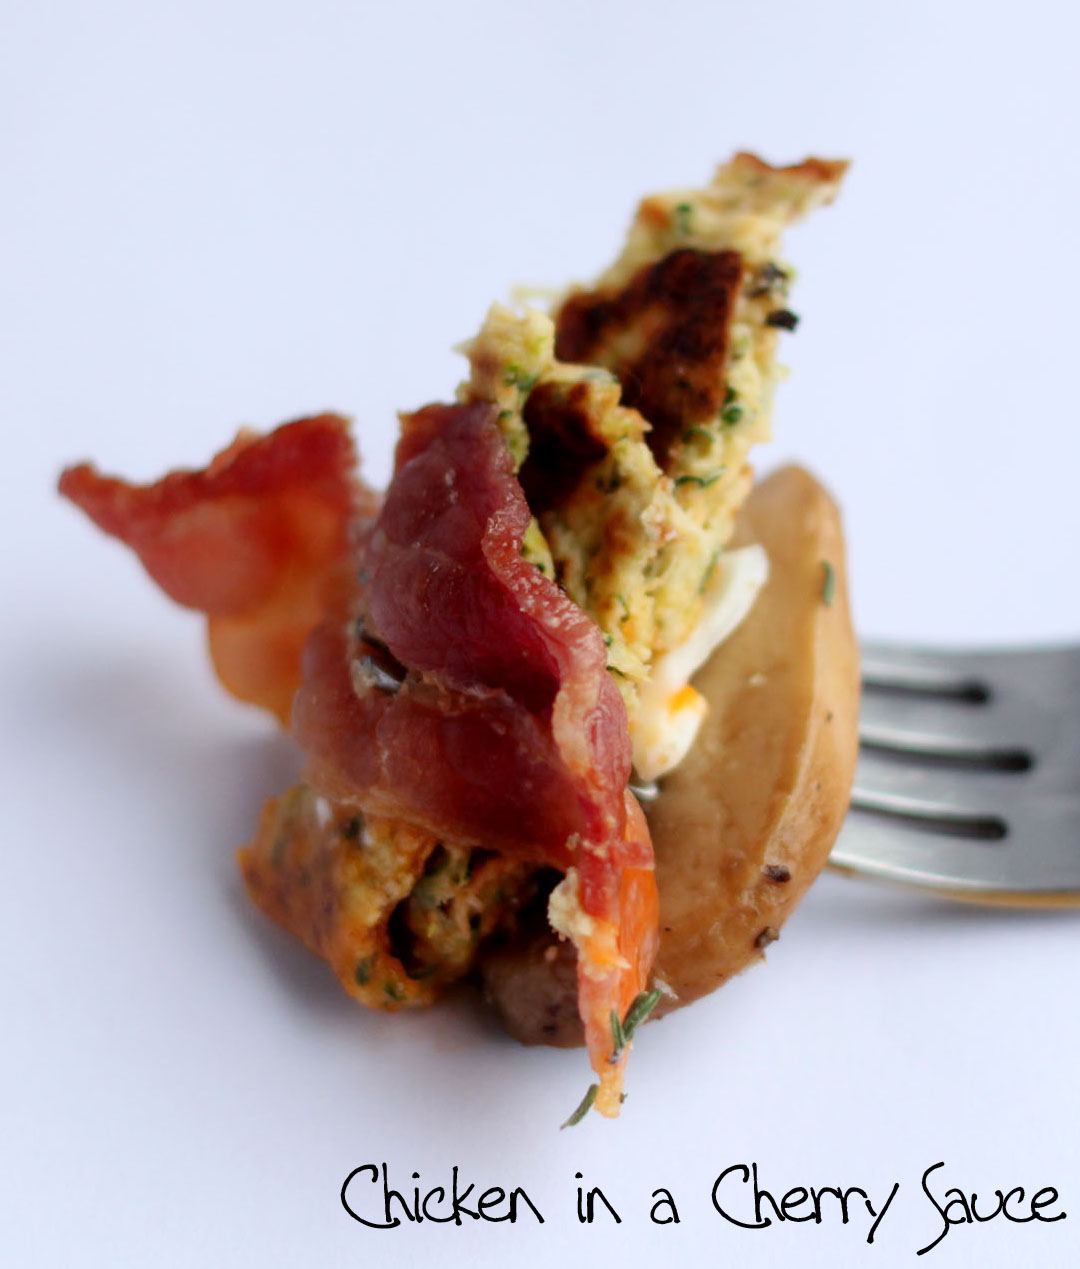 Has anyone else tried these kitchen tricks?


